Sorry I didn't blog yesterday! We traveled to Zwai yesterday to help out some people from Nairobi gather samples for their DNA testing! We left right at 5:30 as usual, and got to the field a little before 9 in the morning. We took 2 vehicles this time! We got the "Fun V" as I called it. When I called it that Millie and Andreas just looked at me, but I'm sure my family knows what I mean!!! :) When we arrive in Zwai, we always stop at this little cafe to get a nice drink and snack before we start our day of strenuous labor! It's a mixture of different juices! The top and bottom juices are mangoes, the green is avocado juice, and the red is strawberry juice! How delicious! A great way to start my day!
 |
It's called a spritz!
(I think... or splitz...) |
So when we arrived to the field, the people from Nairobi explained to us what we were going to be doing. The first thing we had to do was place the bags we will put the samples in by each plot, and then we would use scissors and cut 50 grams worth of the grasses for each sample. We knew this was going to take us all day because they were gathering 293 samples, and then a few extras! By the time we were done, I think we gathered over 300 samples total! It got tiring after a while. Each plot is kind of a large rectangular hole in the ground at least a foot deep. (This is because the irrigation system used here is flood irrigation.) So you have to jump down into the plot, squat down so you can reach the plant, cut off stems of the grasses at least 50 grams worth, put the sample in the bag, seal it tightly shut, hunt down the cooler full of ice blocks to keep them preserved in the hot heat, find the next plot that needs samples, and start the whoooooole process over again! From about 9 until 3 in the afternoon! Woo! It really wasn't that bad though. After a while, everyone knew what they were doing, so it worked really quickly and smoothly! By the time we were done, we were all pros!
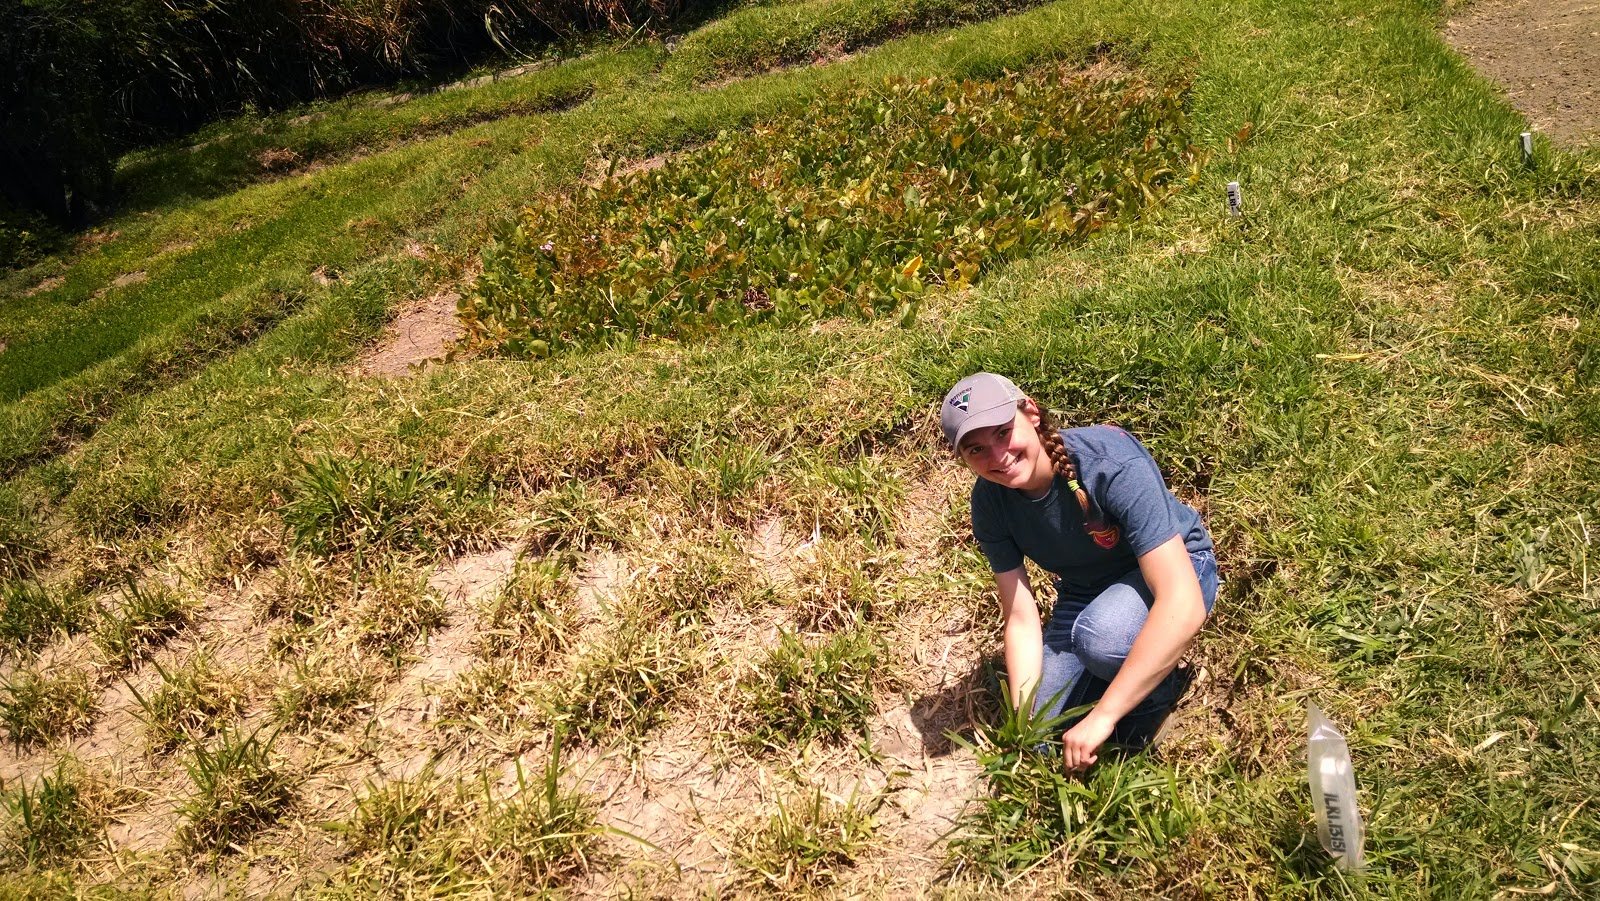 |
Making some cuttings!
*Photo credit by Ricardo* |
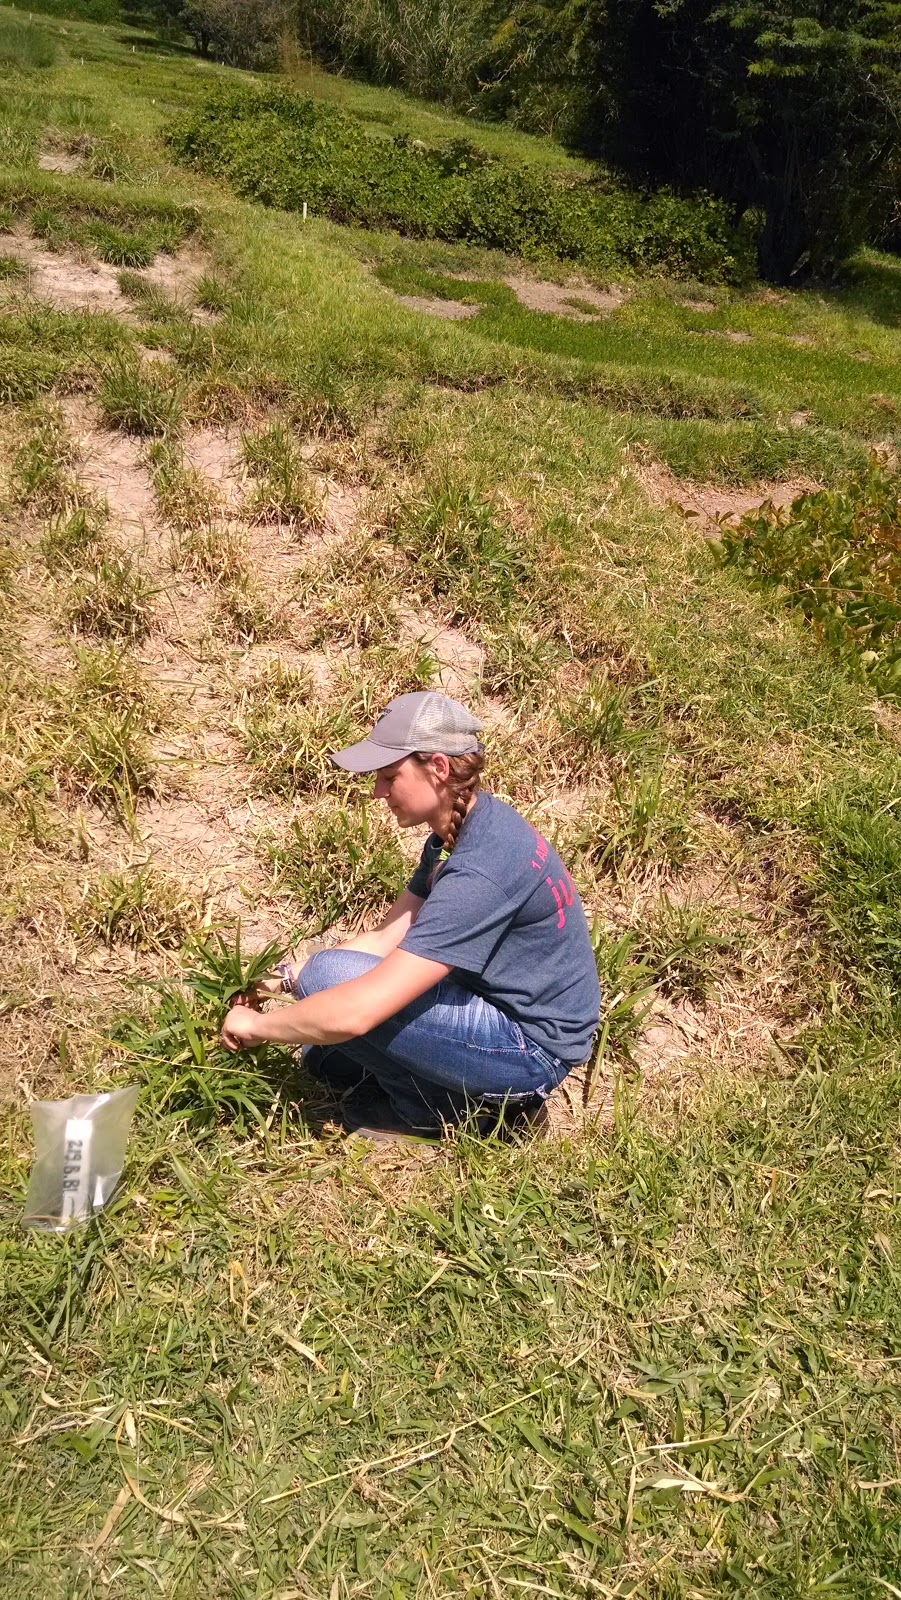 |
| Taking some more cutting samples! |
When all the samples were collected, we had to organize all of the supplies we used, and all the samples, and load them up in the vehicles. Then it was time to hit the road! Traffic was ridiculous! We left Zwai around 3 and didn't get home until about 7 at night! I took us over an hour extra to get home because of how much traffic there was!
 |
| A hut we drove by on our way home |
While we were there, I also gathered some samples of my Canavalia sp. so that I could stain the pollen with aniline blue stain. Dr. Jean said that this stain works extremely well, so in the next day or 2 we'll have to make up that solution so I can stain my pollen! While in Zwai, I also hand pollinated the Canavalia sp.! Because it’s flowering, but
not producing seed, I’m thinking maybe it’s not pollinating correctly. To find
this out, I decided to hand pollinate it while there. I used the pollen off one
of the flowers on an inflorescence and pollenated two flowers on a different
inflorescence. While doing some research about Canavalia sp., I found a list that included many different Canavalia’s and for the ones it listed,
they were known for out-crossing pollination. Because of this, there is a large
chance that my Canavalia sp. of study
also outcrosses. There are multiple plants of each species planted in each plot
in Zwai. While hand pollinating, I had to make sure that I used flowers from
different plants. If I didn’t, the pollination might not work if this species
does require out-crossing pollination. In order to hand pollinate, there are a
few utensils needed. One of the main ones is forceps. These are needed to hold
the flower desired for pollination. Before pollination occurs, the petals on
the flower don’t open up, so I also need a pick. This is used to open up the
petals and move around the stamens so that the pollen is accessible and the
anthers are in the open. Lastly, a fine paintbrush is needed. This is used to
gather pollen from one flower and transfer it to another flower for
pollination. A fine paintbrush is used so that there isn’t too much area for
the pollen to attach onto. A fine tip is very good so that all the pollen
gathered is in the same area. After the pollen is gathered onto the paintbrush,
I then use the forceps to hold the desired flower, use the pick to open up its
petals and expose the anthers, and then brush the pollen onto the anthers. When
this is all finished, I use the forceps and pick to try to close up the petals
again. If the petals stay open after the flower has been pollinated, the pollen
grains might dry up because they’re not getting sheltered by the petals anymore.
Because there are two different Canavalia sp. accessions being grown in Zwai, I thought that maybe
my Canavalia of study would seed if I
hand pollinated it with the other Canavalia
sp. The plants have different accession numbers, but since no one knows the
species of either, there is still a slight chance that they could be the same
species. I decided to try hand pollinating my issue Canavalia sp. using the pollen from the Canavalia sp. that is growing perfectly. The plots they’re grown in
are slightly a distance away from each other, so there was a chance that I lost
some pollen on the way to my one of study, but when I did the pollination, I
still saw a large amount of pollen attached on the paintbrush and falling off
onto the anthers. I performed the same procedure on a few of these flowers as I
did before.
After every flower I pollinated, I placed a tag around it so
that it was known which flowers were pollinated. This will make is convenient
and easier to observe in the future. On the tags I pollinated using the same
accession number plant, I wrote down: “Hand pollinated, pollinated with same
accession 1251, 30 June 2014.” For the tags that I pollinated using the
different accession of Canavalia sp., I
wrote down: “Hand pollinated, pollinated with different accession: 15592, block
873, 30 June 2014.”
I’m going to have to ask whoever travels to Zwai every week
to check on the flowers I hand pollinated. Because I labeled which flowers got
pollinated, it shouldn’t be too difficult to check on them. All that is needed
is to see whether or not seed pods have formed.
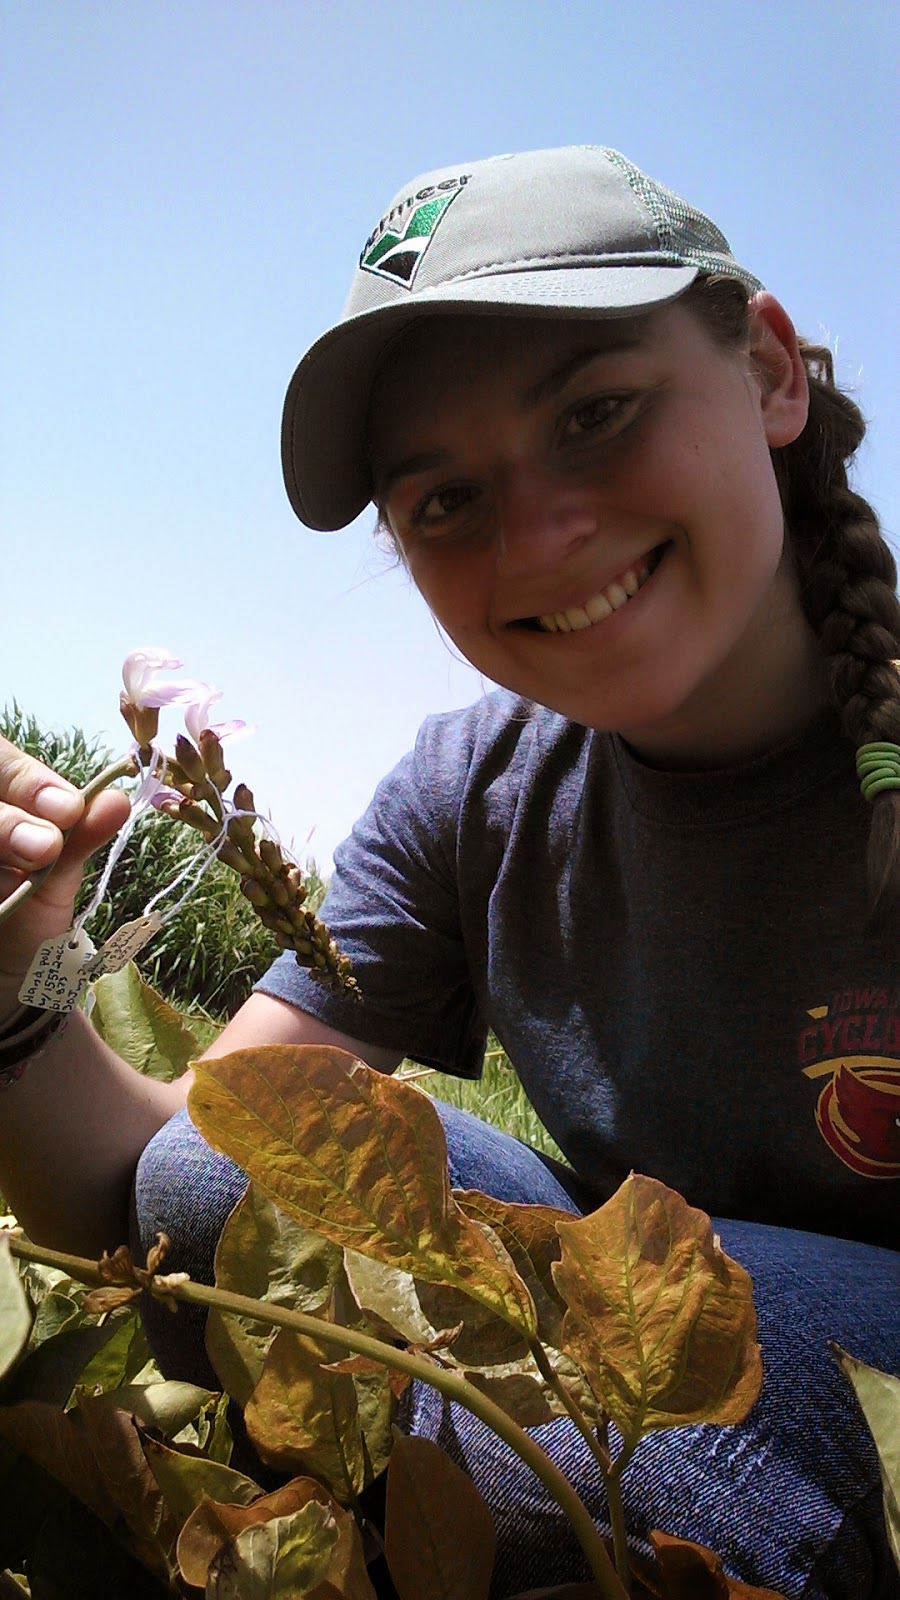 |
| My pollinated inflorescence! |
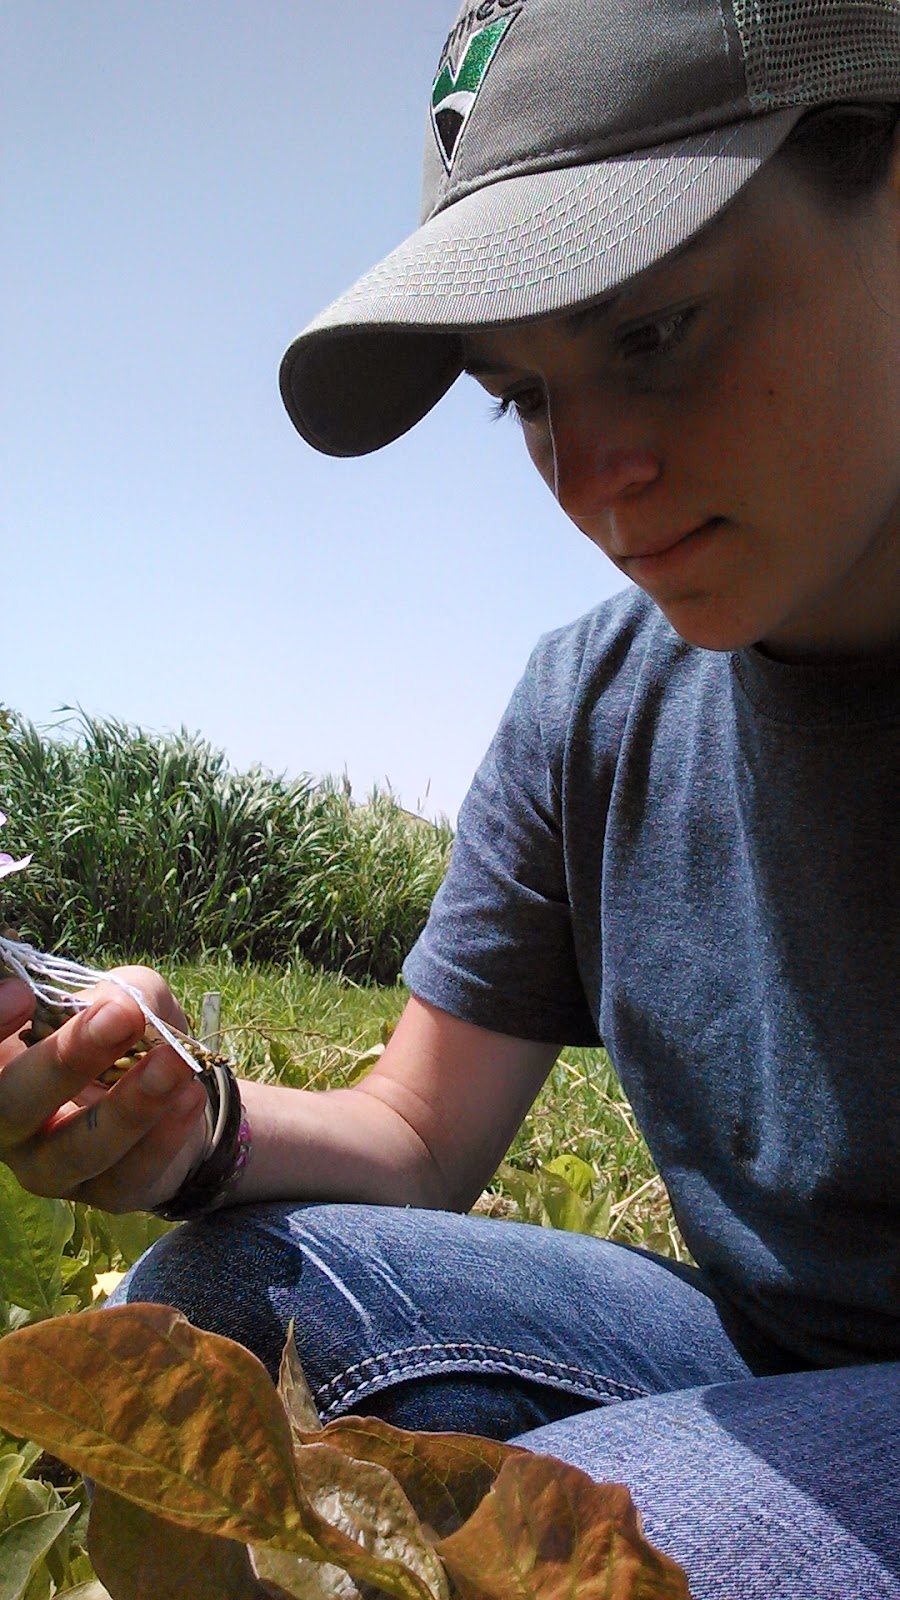 |
| Double checking the tags |
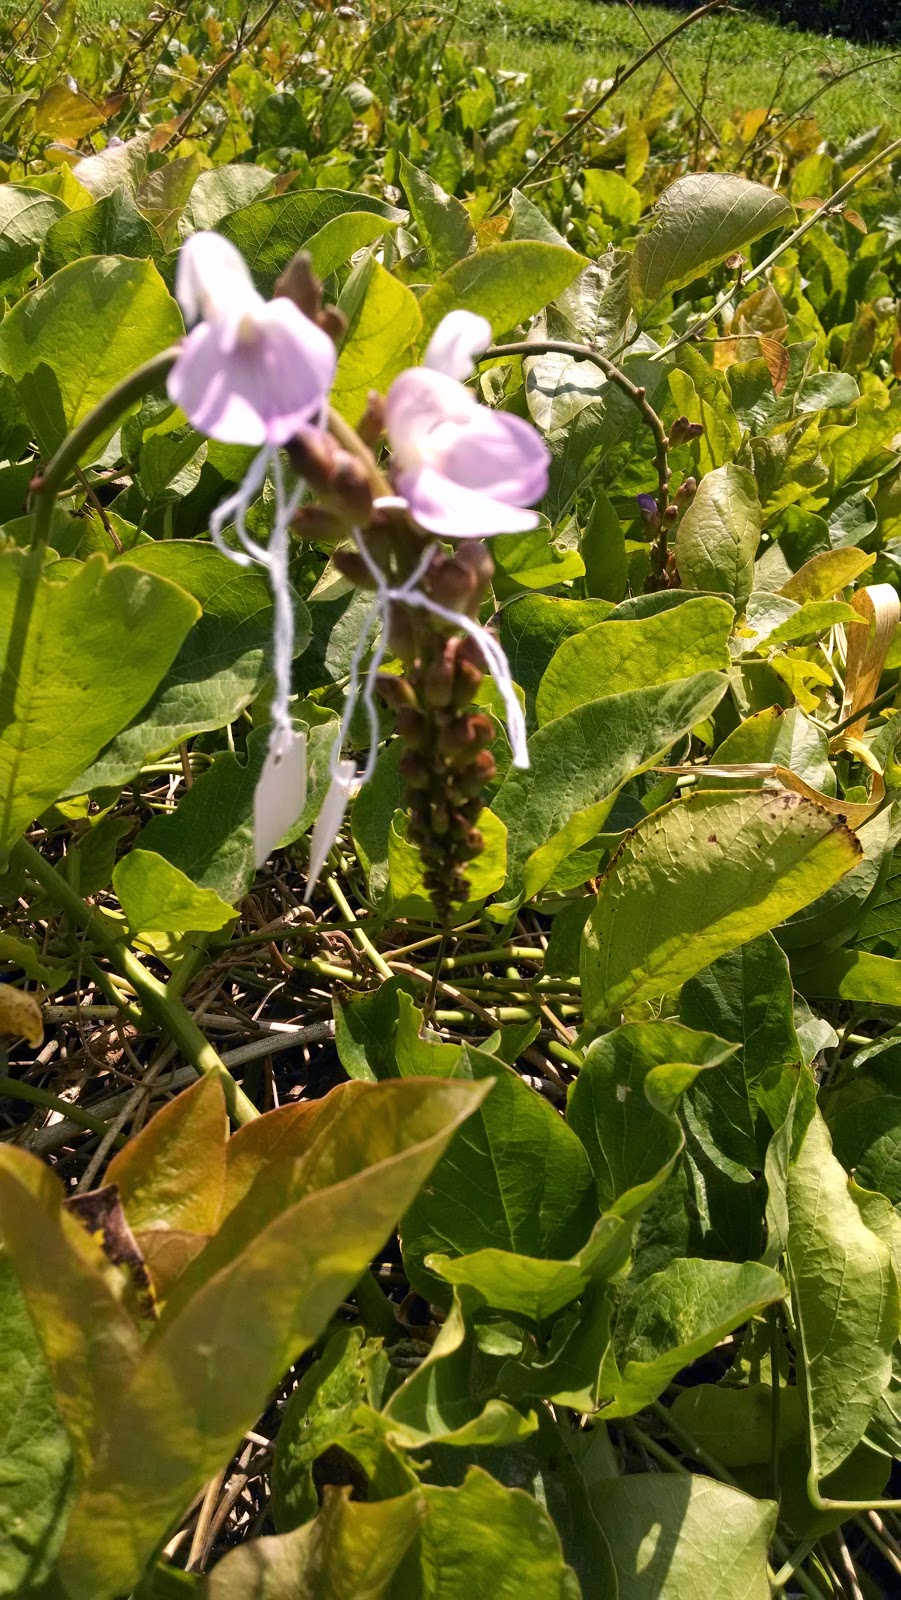 |
| My pollinated Canavalia sp.! |
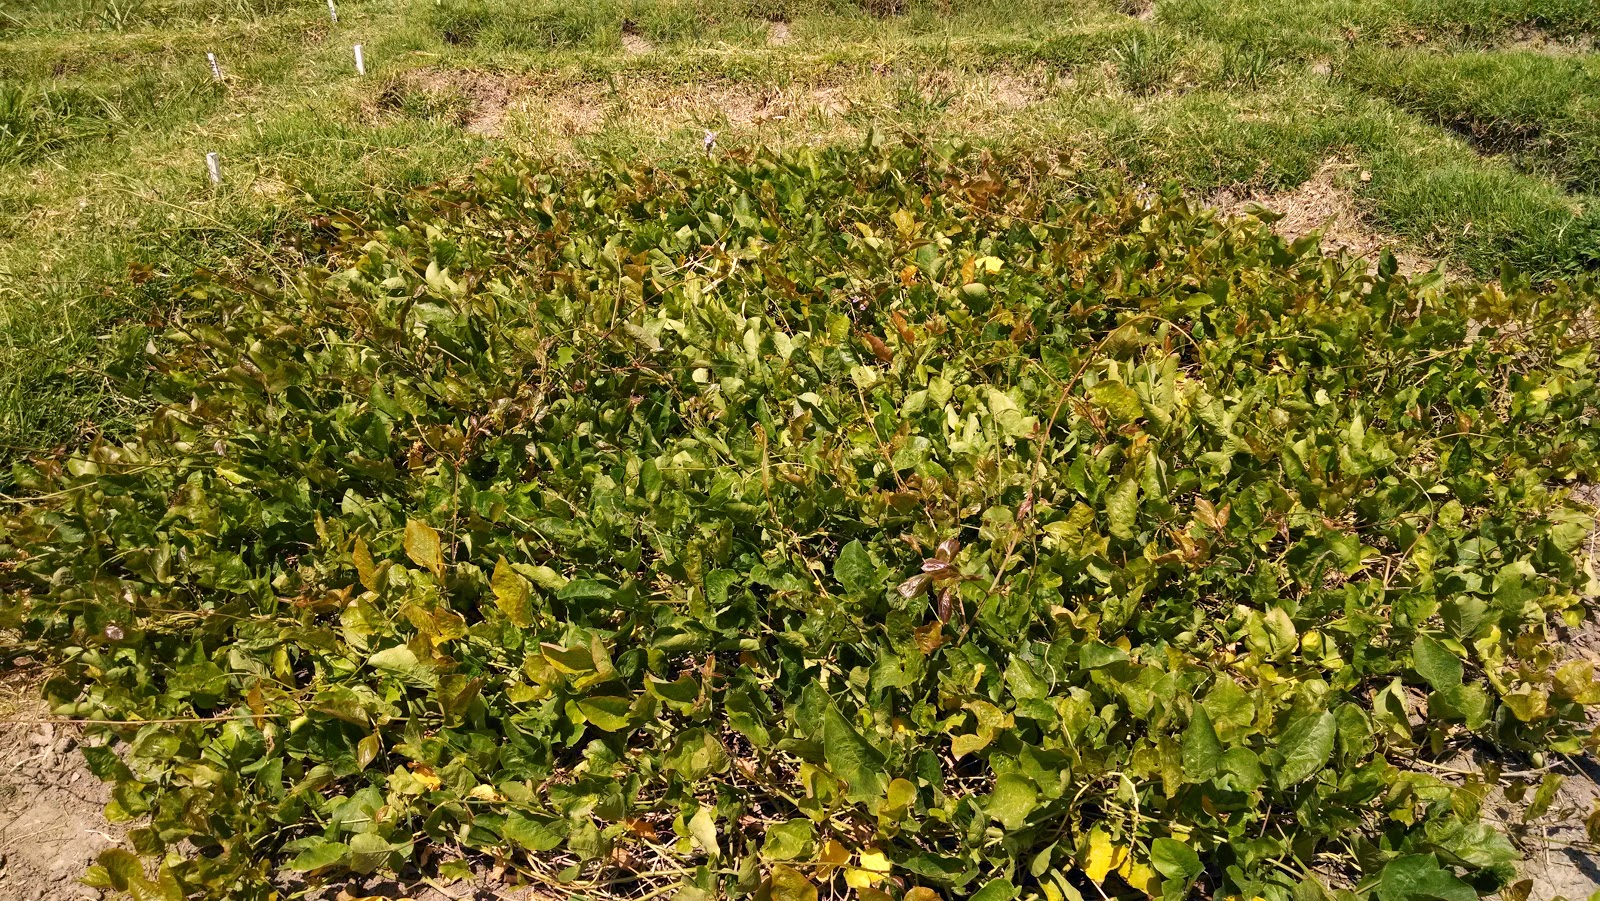 |
| The plot with my Canavalia sp. |
Today at work was full of working on my final lab report! The internet was down in the morning, so I did a lot of writing then! The afternoon it was back, so I was also to do some more research to gain some more knowledge and come up with some more hypotheses about the issues with my different species! I came up with a new hypothesis with my Onobrychis arenaria! Today I found out that it's a perennial plant that is usually grown in a temperate zone. Temperate zones have warm summers and cool winters with
year-round rain or snow. They usually have four seasons every year. Addis Ababa is a tropical zone. Tropical
zones have a climate that is hot all year, but has a distinct wet season and
dry season during the year. Onobrychis
arenaria is a perennial plant, so during the winter season, it goes into a
dormant period. While growing in the greenhouse in Addis Ababa, Ethiopia, it
doesn't receive this cold, dormant period. In order for it to grow, it has to
receive this condition. I feel like that is what the issue with the Onobrychis arenaria. In order for it to flower, I think it needs a dormant period. We'll have to try to reenact this. I can put it in the cooler during the day, and bring it out for night, and put a spotlight on it. Nighttime here gets pretty chilly, so it'll be fairly similar. Or at least as similar as possible. I'll have to talk to Dr. Jean about this tomorrow to see if I can try this hypothesis out since I only have a month left here...
I totally forgot! This morning we finished up planting in Addis! We had just a few plots in the back to finish planting today, so it only took a little over an hour to do. The plots in the back usually only have one short row in it because it's of the plants that they only have a small amount of seeds of. First we laid out which seeds get planted in each plot. After that, Andreas and Solomon dug out the rows for each plot. They varied. Some plots had one row, whereas others had 5. Millie and I would plant the seeds, and then everyone would help out in covering the rows up with soil!
 |
| The back plots |
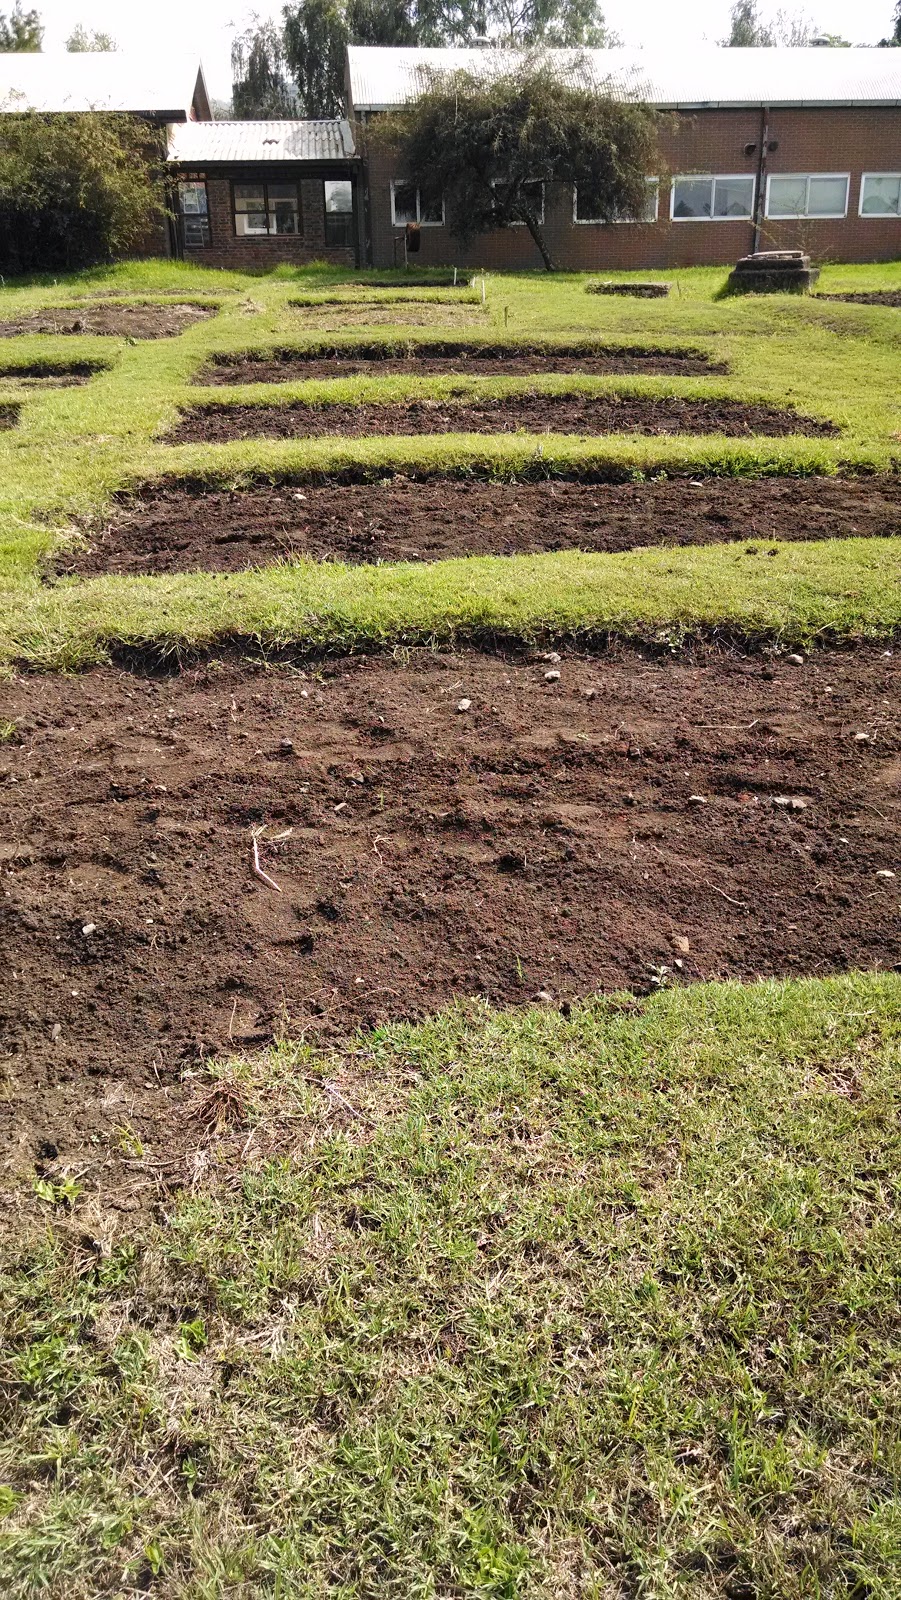 |
| The back plots |
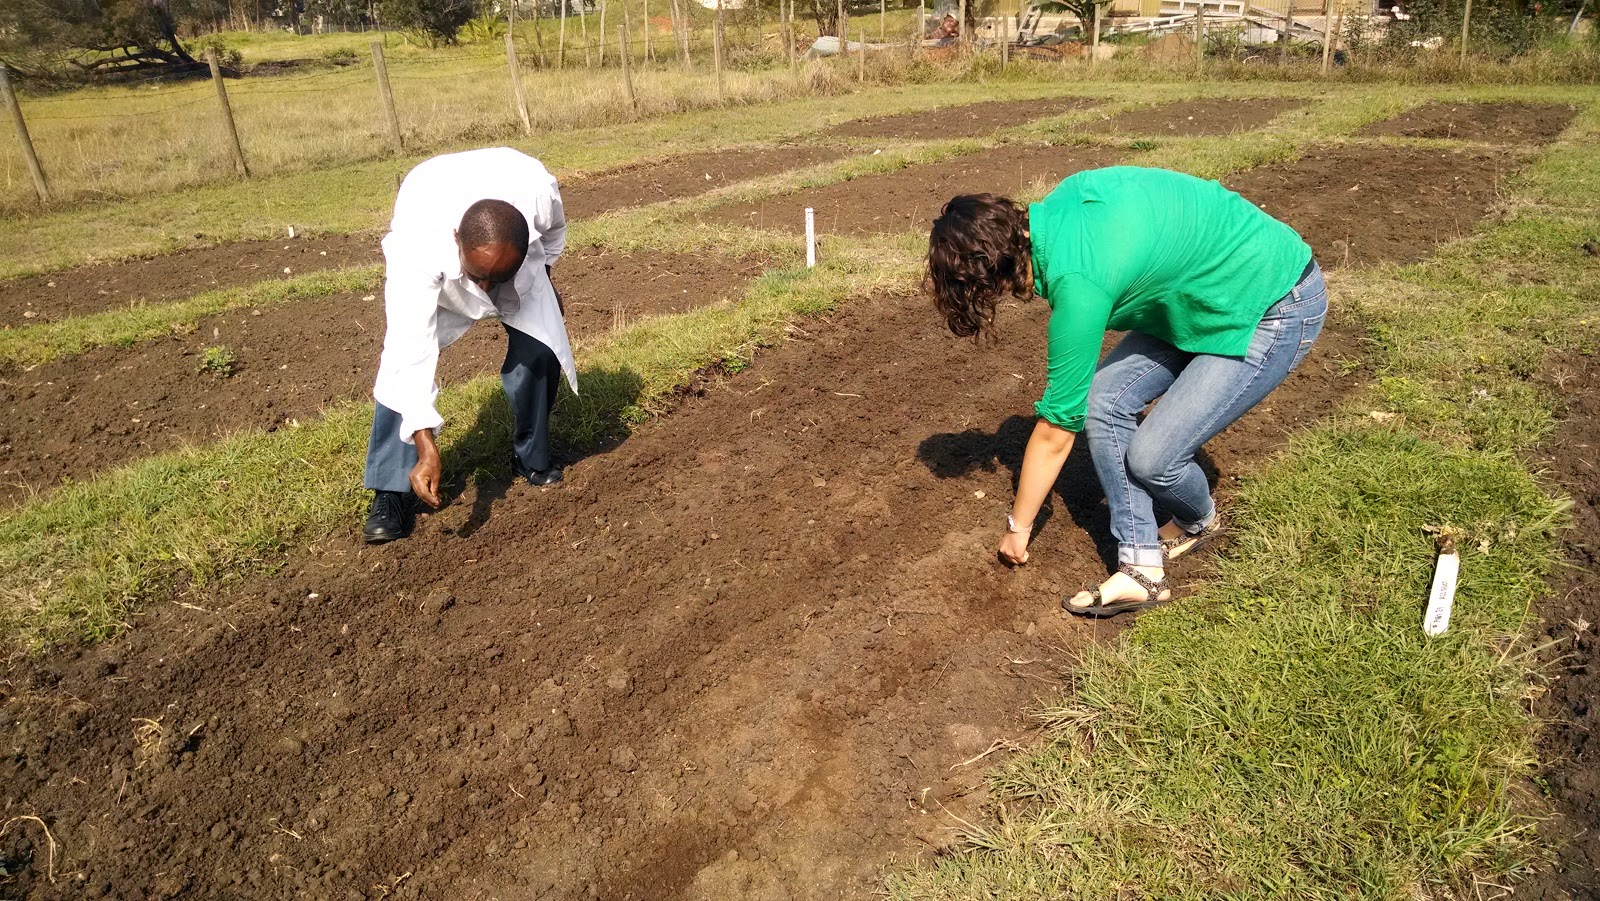 |
| Solomon and Millie planting the rows |
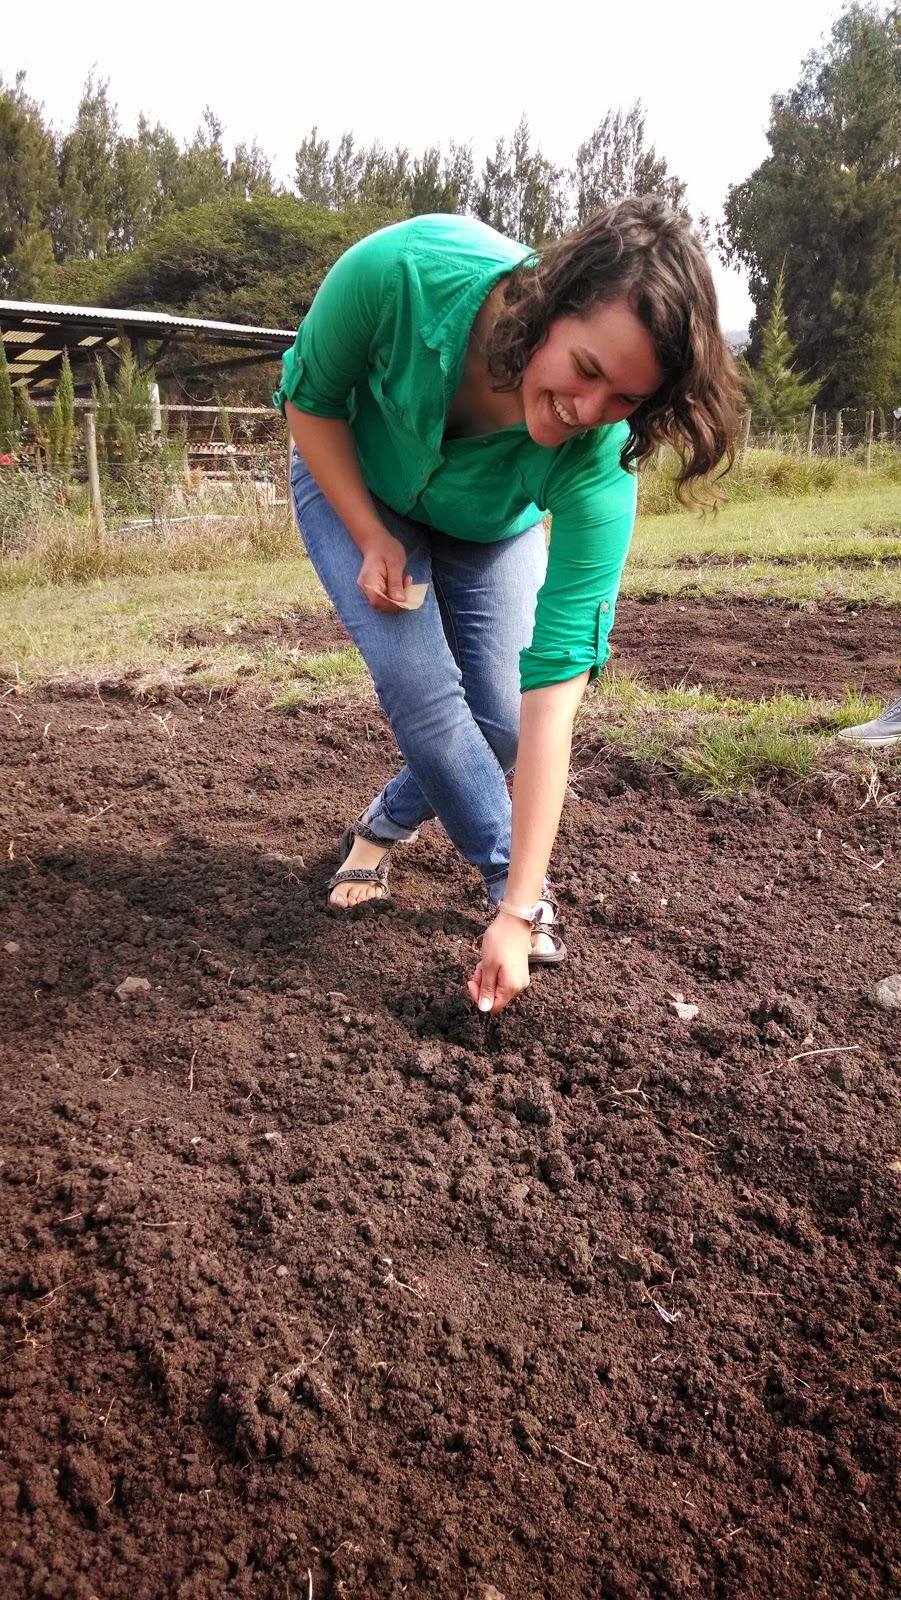 |
Millie planting the row with a
big smile on her face! |
No comments:
Post a Comment